



A clear, practical guide to managing inlet (suction) pressure on air operated double diaphragm (AODD) pumps, based on manufacturer guidance and field experience.
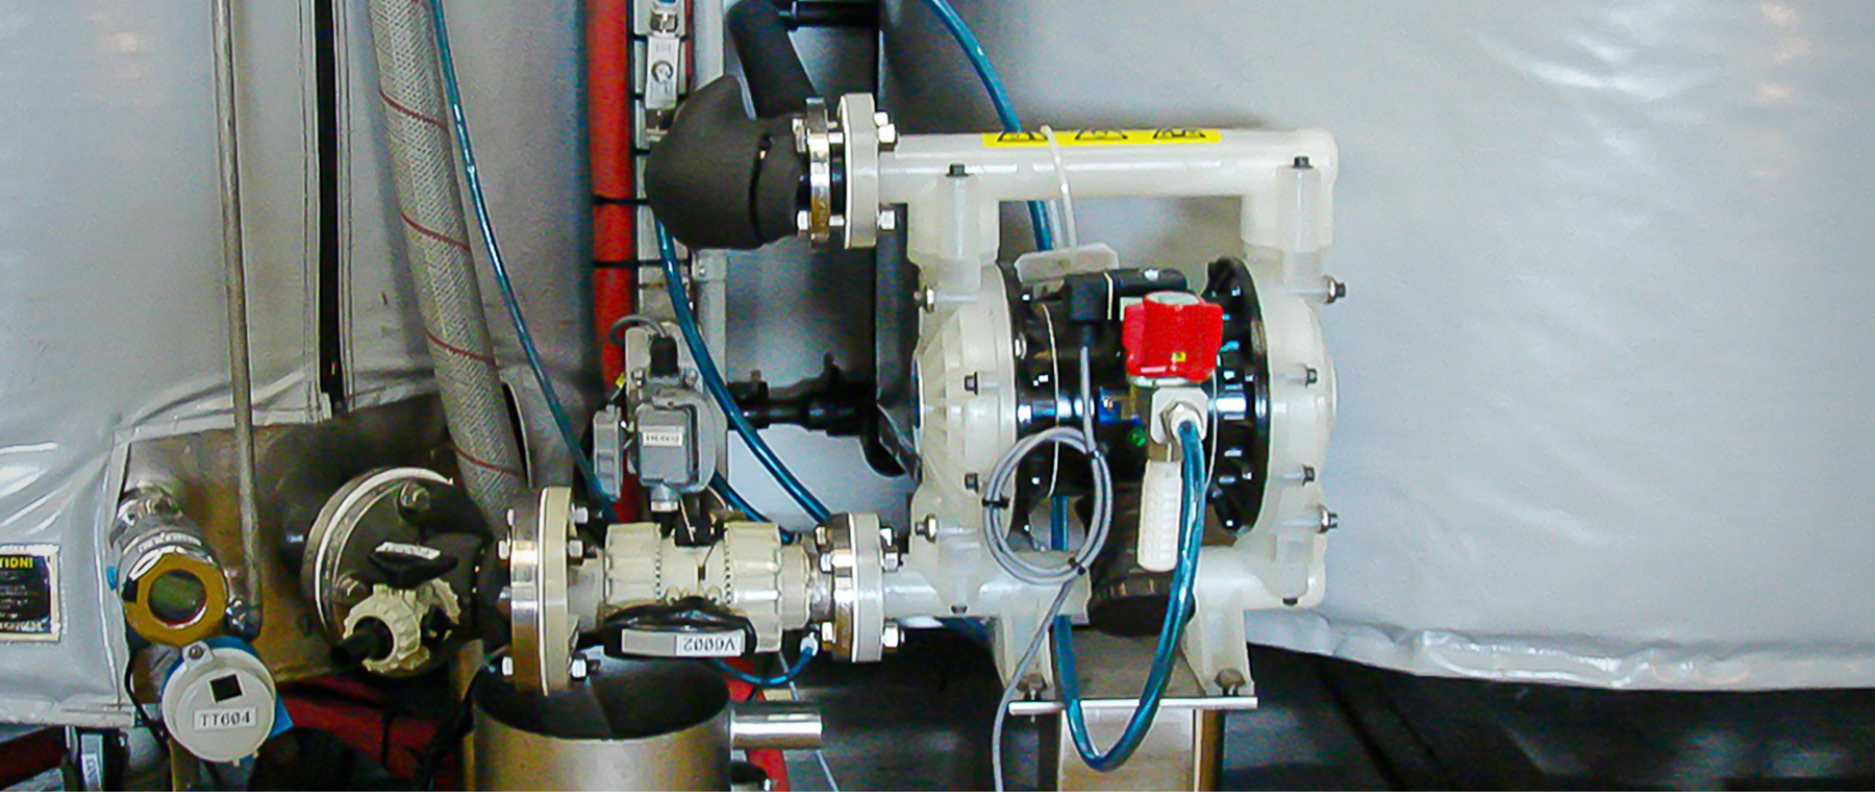
- Aim for 0.7 bar (about 10 psi) or less at the inlet.
- Around 1.0 bar (about 14.5 psi), diaphragm life can start to fall.
- Keep inlet pressure below roughly 25% of discharge pressure to limit check ball chatter.
- Air set-point plus inlet pressure must stay within the pump's maximum fluid working pressure.
- With strong flooded suction or a pressurised source, add discharge back-pressure.
Most inlet pressure problems start with a tall tank or a pressurised vessel pushing liquid into the pump. The flow looks slightly unsteady, the check balls chatter, and a diaphragm fails early. This guide covers how to measure inlet pressure, how to set up the three common suction arrangements, and what the symptoms mean.
What inlet pressure is and why it matters
Inlet pressure is the gauge pressure at the pump's fluid inlet port. A positive reading means liquid is arriving under pressure, from tank head or a pressurised vessel. A negative reading means the pump is lifting the liquid.
An AODD pump behaves as an approximately 1:1 differential-pressure machine. The compressed air on one side of the diaphragm balances the liquid pressure on the other, so discharge pressure comes out at about the air pressure plus the inlet pressure, less system losses. Any pressure on the inlet therefore adds to the pressure the pump, hoses and fittings must withstand.
Inlet pressure also affects the check valves. Each pumping chamber has an inlet check ball and a discharge check ball that open and seat on every stroke. When the inlet pressure is high compared with the discharge pressure, the inlet balls are held off their seats. Liquid slips past them, the balls chatter, flow becomes erratic, efficiency falls, and the diaphragms wear faster.
Recommended inlet pressure limits
| Situation | Practical guidance |
|---|---|
| Typical flooded suction (tank above pump) | Cap inlet at ~0.7 bar (10 psi) |
| High flooded head / pressurised source | Expect check chatter; add discharge back-pressure and/or throttle inlet to keep ≤ 0.7 bar (10 psi) |
| Approaching 1.0 bar (15 psi) at inlet | Diaphragm life may drop; reduce inlet pressure |
| Ratio check | Aim for inlet < ~25% of discharge |
Rule-of-thumb conversion: 10 m of water ≈ 1.0 bar (≈ 14.5 psi). So a tank level 3 m above the pump gives ~0.3 bar (~4.4 psi) static inlet pressure (ignoring friction).
How to measure inlet pressure correctly
- Gauge location: Install a liquid-filled pressure gauge (or transducer) as close as practical to the pump inlet.
- At rest vs running:
- Static (pump off): reads the head/blanket gas.
- Dynamic (pump on): includes friction losses; trend both.
- Pipe strain & air pockets: Mount the gauge vertical, avoid high-point air traps, and support piping to prevent vibration damage.
System set-ups and what to do
1) Flooded suction (tank above pump)
- Fit an isolation/throttling valve on the inlet so you can tame strong head.
- Avoid collapsing hoses: use reinforced suction hose or rigid pipe.
- Keep the suction line short, straight, and ≥ pump inlet size.
- Provide some discharge back-pressure (part-closed valve or BPR) to help seat check balls and reduce chatter.
2) Pressurised source / gas-blanketed vessel
- Sum the static head + vessel pressure—this can exceed safe inlet pressure quickly.
- Control with inlet throttling and discharge back-pressure.
- Re-check that air set-point + inlet ≤ pump rating (and hose/fitting ratings).
3) Suction lift (drawing from below the pump)
- Start with low air pressure so chambers fill gently, then increase.
- Seal the suction side: no leaks, minimal elbows, properly sealed joints.
- Consider a foot valve or priming aid if repeated starts are required.
Piping and accessory checklist
- Suction size: Same as or larger than the pump’s inlet.
- Length & fittings: Short runs, large radius bends, minimal restrictions.
- Strainers: Use only where required; choose a large basket and keep it clean.
- Hose selection: Reinforced/rigid on suction to prevent collapse.
- Instrumentation: Inlet and discharge gauges help you verify the pressure ratio.
Troubleshooting: symptoms → likely cause → fix
| Symptom | Likely cause | Fix |
|---|---|---|
| Check ball chatter or surging flow | Inlet pressure too high relative to discharge pressure | Add discharge back-pressure and throttle the inlet to 0.7 bar or below |
| Early diaphragm wear or frequent failure | Inlet pressure near 1.0 bar, or pressure spikes from a pressurised source | Reduce inlet pressure, fit a back-pressure regulator, and verify component ratings |
| Slow priming or poor suction lift | Air leaks or restrictive suction piping | Reseat or reseal joints, shorten the suction line, use a larger line, and start slowly |
| Flow lower than expected | Check ball sealing problems from high inlet pressure or too little discharge head | Increase back-pressure slightly, reduce inlet pressure, and inspect the check valves |
Two worked examples
Example A: Flooded suction with tall tank
The tank level is 5 m above the pump and the air set-point is 4.5 bar.
- Tank level above pump: 5 m → ~0.5 bar inlet.
- Air set-point: 4.5 bar.
- Expected discharge ≈ 4.5 + 0.5 = 5.0 bar, subject to losses.
- Check ratio: inlet/discharge = 0.5/5.0 = 10% (good). If chatter occurs, add a touch of discharge back-pressure and verify suction line design.
Example B: Pressurised vessel
The static head is 2 m (about 0.2 bar), the vessel blanket is 0.6 bar, and the air set-point is 4.0 bar.
- Static head: 2 m (~0.2 bar); vessel blanket: 0.6 bar → inlet ~0.8 bar.
- Air set-point: 4.0 bar → discharge target ≈ 4.8 bar.
- Ratio: 0.8/4.8 ≈ 17%
The ratio is acceptable, but the inlet pressure of 0.8 bar is above the 0.7 bar guide. Throttle the inlet or add discharge back-pressure to bring it down to about 0.5 to 0.7 bar.
Quick calculator (rules of thumb)
- Static head to pressure: p (bar) ≈ height (m) / 10 (water at ~20 °C).
- Discharge estimate: pdischarge ≈ pair + pinlet (stay within ratings).
- Ratio check for stability: pinlet / pdischarge < 0.25.
Common questions
Do AODD pumps need NPSH like centrifugal pumps?
Yes, especially for hot or volatile liquids. Keep NPSHa > NPSHr with a margin; reduce suction losses and avoid high temperature drops that push the fluid to vapour.
Can I run an AODD to atmosphere on discharge?
You can, but some back-pressure usually improves check-ball seating and flow stability. A slightly closed valve or a back-pressure regulator often helps.
Is more inlet pressure always better for priming?
No. Excessive inlet pressure can unseat the checks and shorten diaphragm life. Use just enough to flood the pump—≤ 0.7 bar (10 psi) is a good ceiling.
Need help sizing or troubleshooting?
Global Pumps can review your tank elevations, hose runs, media properties (viscosity, solids, temperature), and duty, then recommend a stable, long-life configuration, including inlet control and discharge back-pressure setup.
Talk to our team for:
- On-site or remote troubleshooting
- Piping layout and accessory selection
- Pump sizing for viscous and abrasive duties
- Start-up procedures and maintenance planning